


- Plug & Play: Android TV/set-top boxes and PCs
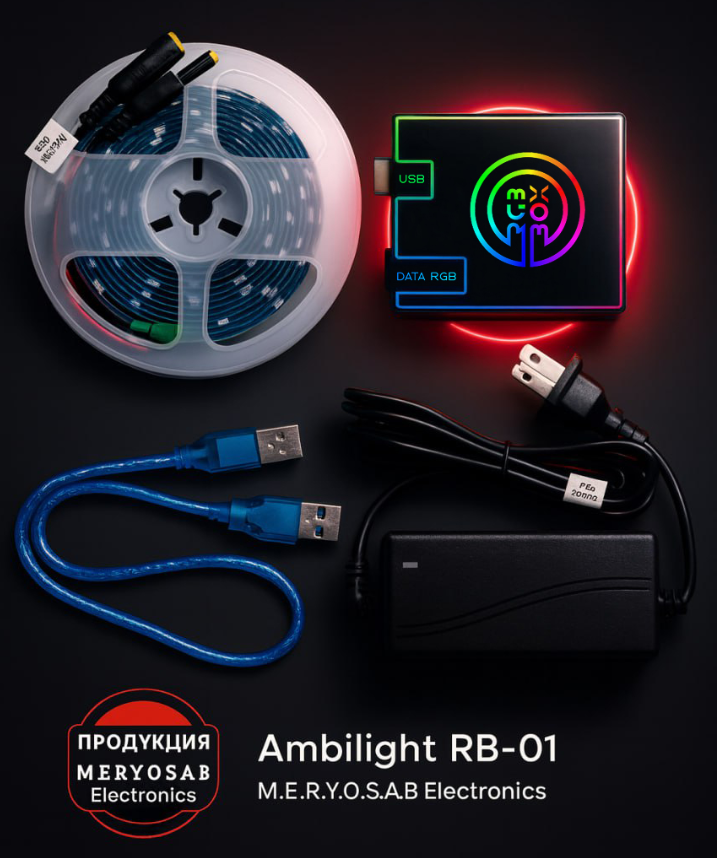
- Everything in the box: strip, controller, PSU, USB
- Smooth effects without flicker
- Works locally (no internet required)
- For different TV sizes
- Made in Turkmenistan — M.E.R.Y.O.S.A.B Electronics
Where to buy RB-01? Click here
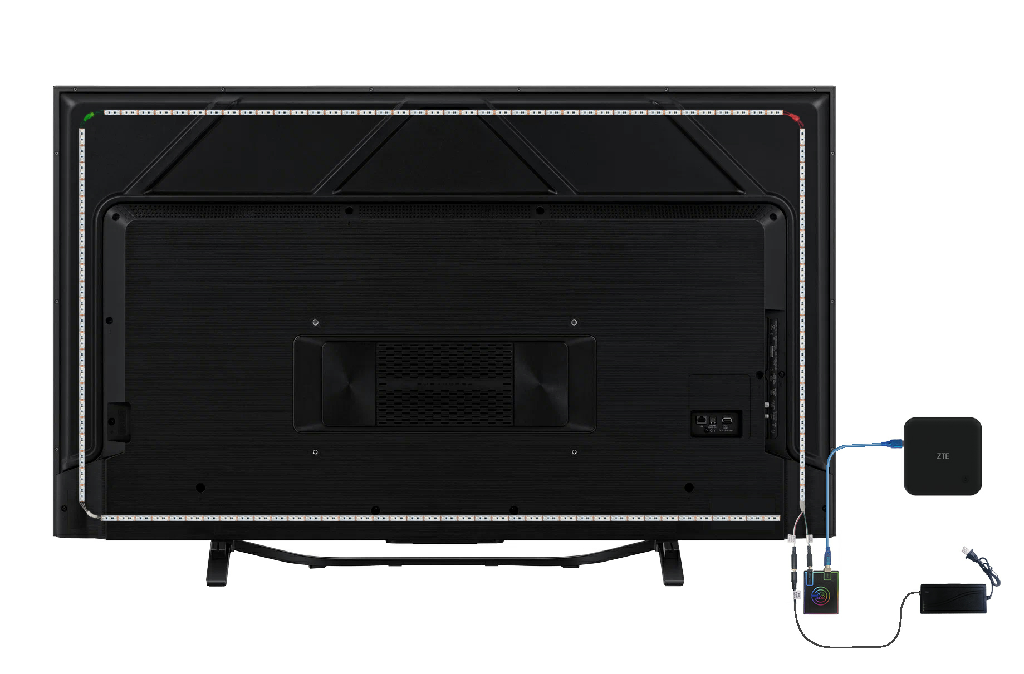
RGB-BOX — the light follows the picture. We pre-assembled the strip around the screen and labeled the connectors. Just match the colors — and feel the depth of the scene.
Which kit is right for my TV size?
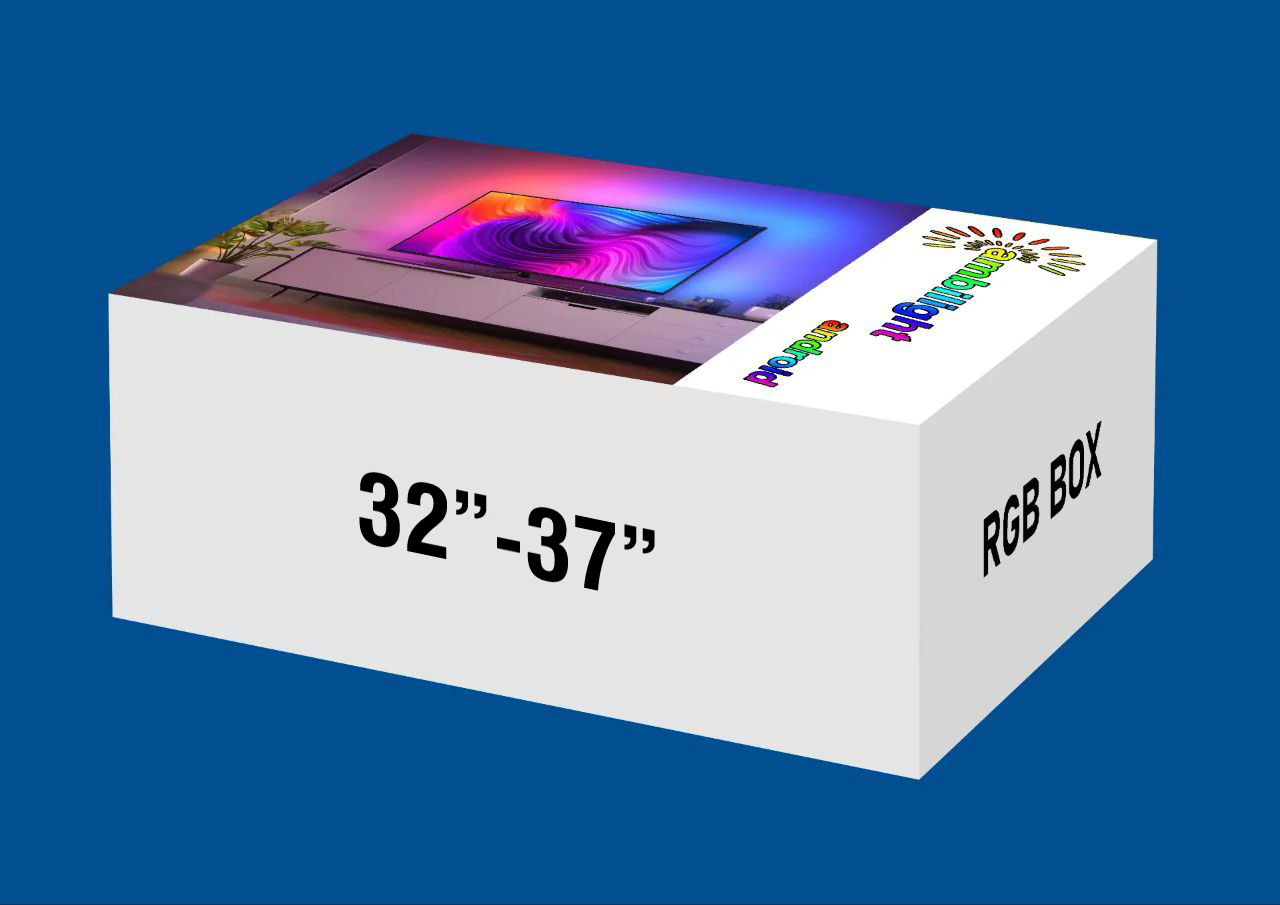
32″–37″
- Left: ** LEDs (vertical)
- Top: ** LEDs (horizontal)
- Right: ** LEDs (vertical)
- Bottom: ** LEDs (horizontal)
- Color: RGB LED
- Start: left or right
- End: bottom
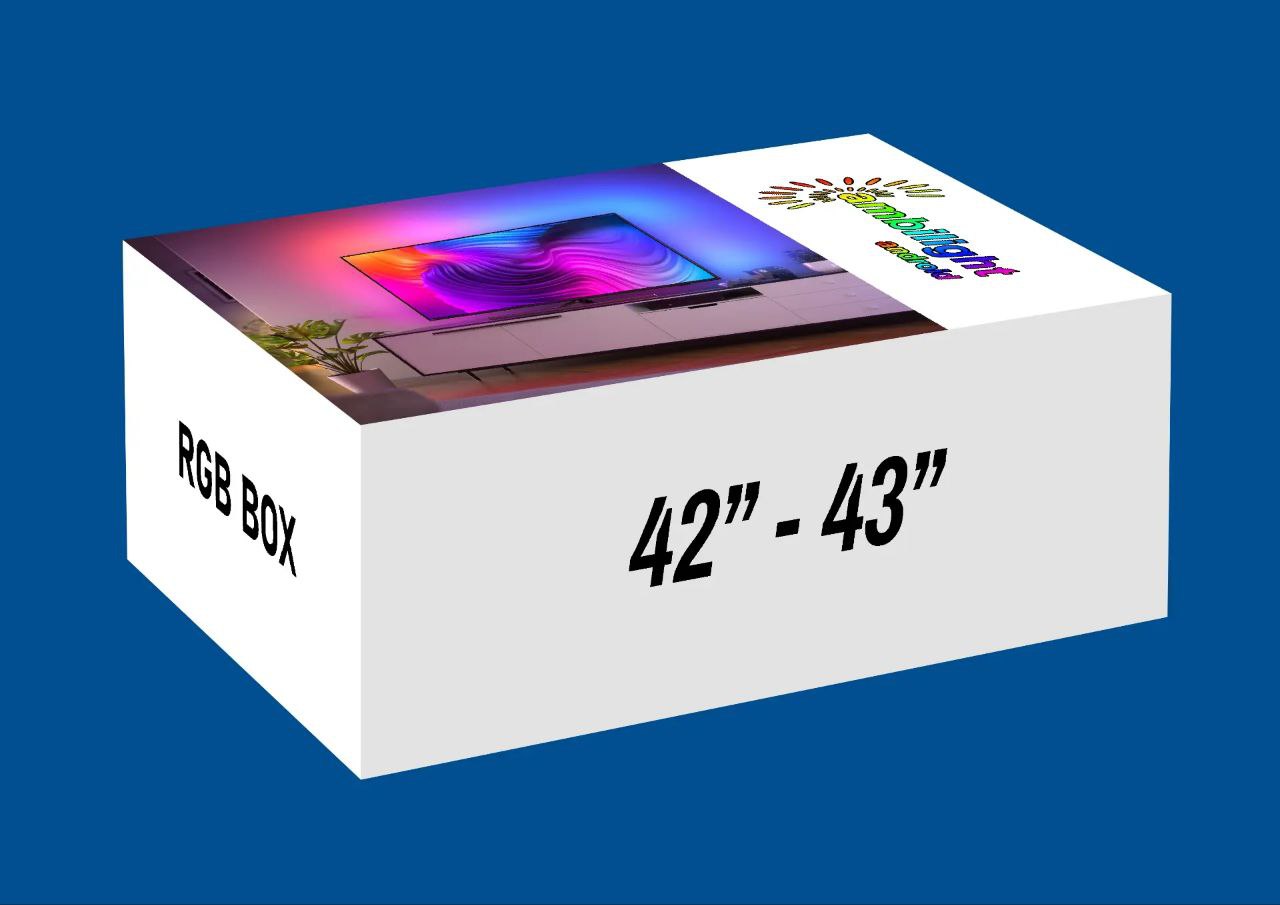
42″–43″
- Left: ** LEDs (vertical)
- Top: ** LEDs (horizontal)
- Right: ** LEDs (vertical)
- Bottom: ** LEDs (horizontal)
- Color: RGB LED
- Start: left or right
- End: bottom
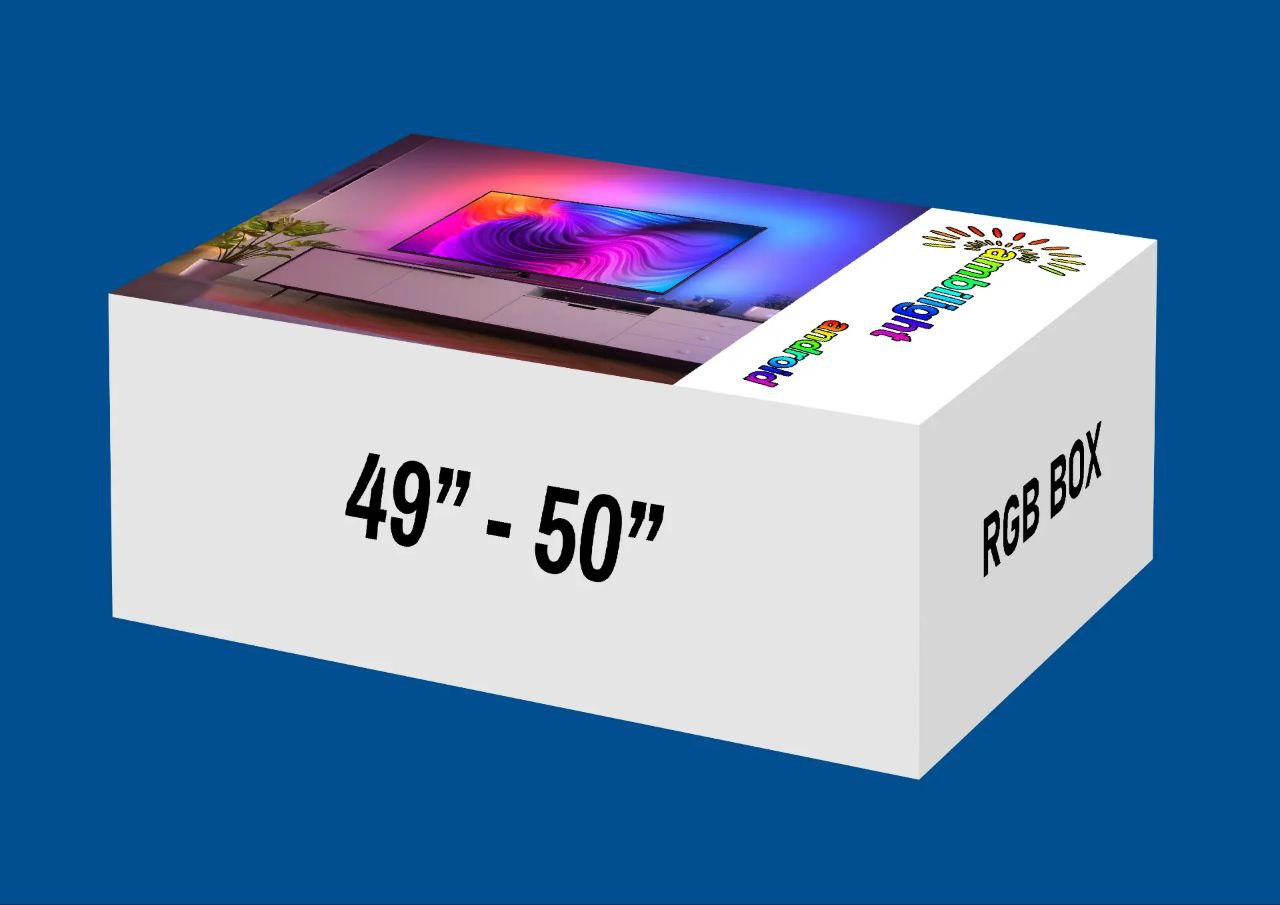
49″–50″
- Left: ** LEDs (vertical)
- Top: ** LEDs (horizontal)
- Right: ** LEDs (vertical)
- Bottom: ** LEDs (horizontal)
- Color: RGB LED
- Start: left or right
- End: bottom

55″–58″
- Left: 36 LEDs (vertical)
- Top: 54 LEDs (horizontal)
- Right: 36 LEDs (vertical)
- Bottom: 54 LEDs (horizontal)
- Color: RGB LED
- Start: left or right
- End: bottom
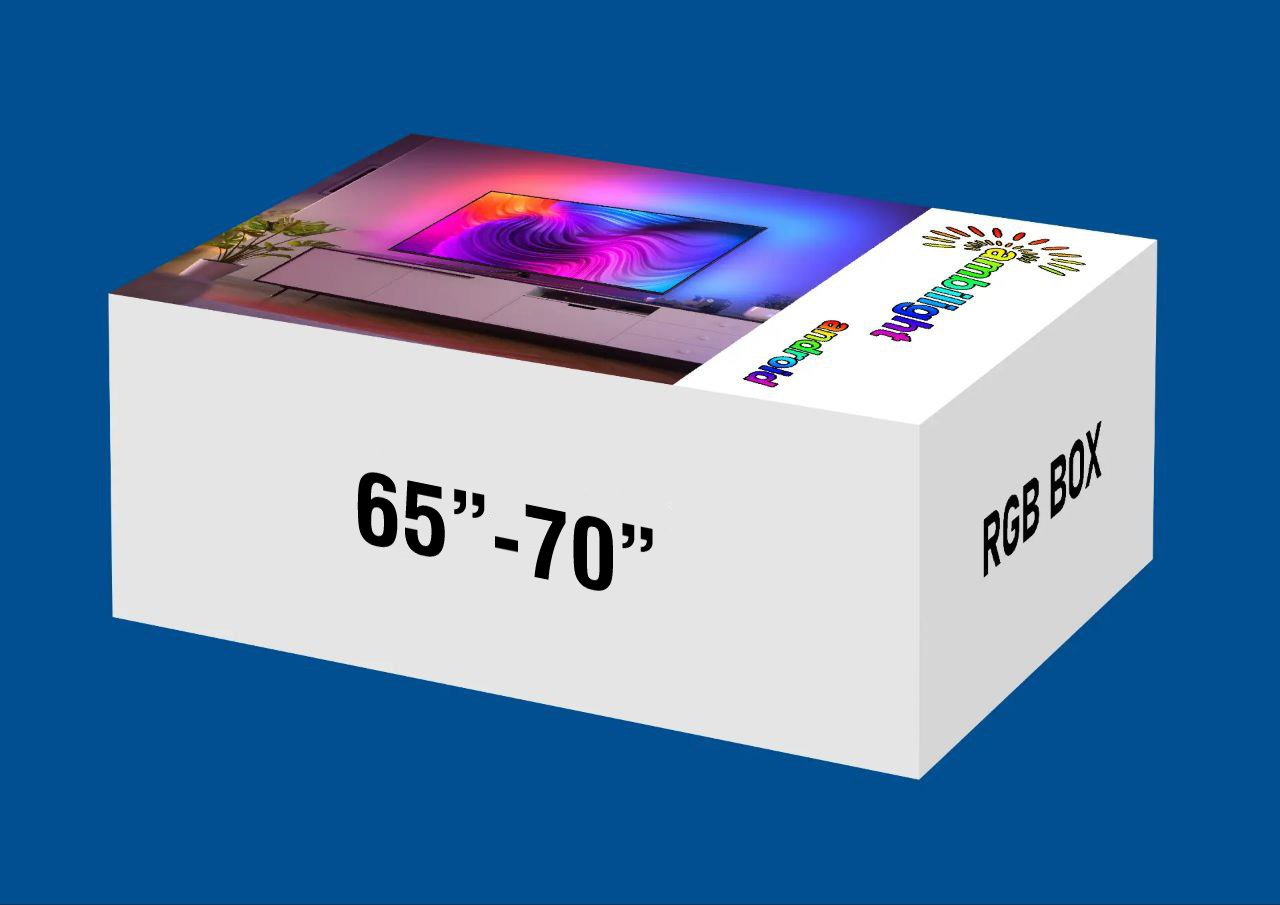
65″–70″
- Left: 42 LEDs (vertical)
- Top: 78 LEDs (horizontal)
- Right: 42 LEDs (vertical)
- Bottom: 78 LEDs (horizontal)
- Color: RGB LED
- Start: left or right
- End: bottom

75″–78″
- Left: ** LEDs (vertical)
- Top: ** LEDs (horizontal)
- Right: ** LEDs (vertical)
- Bottom: ** LEDs (horizontal)
- Color: RGB LED
- Start: left or right
- End: bottom
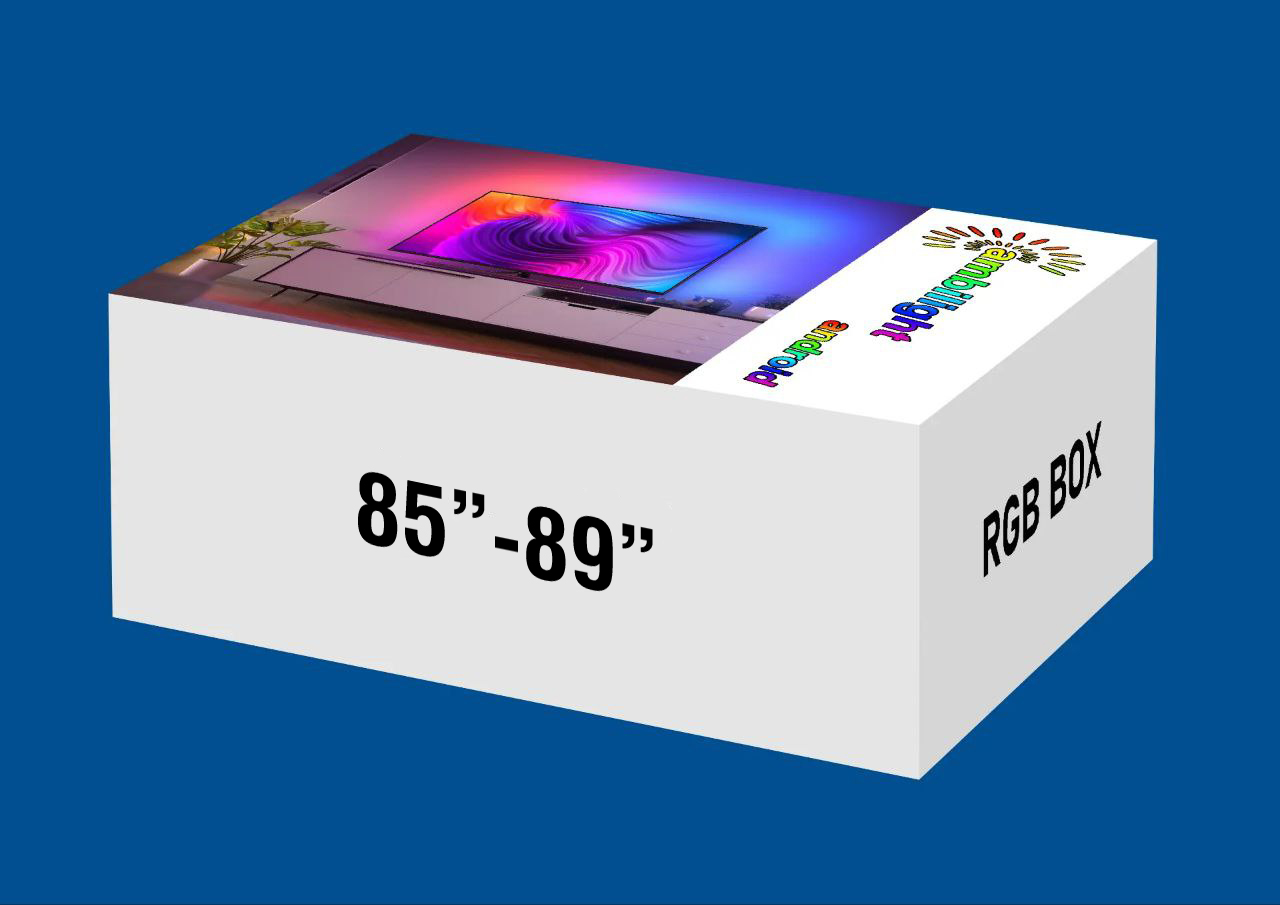
85″–89″
- Left: 29 LEDs (vertical)
- Top: 51 LEDs (horizontal)
- Right: 29 LEDs (vertical)
- Bottom: 51 LEDs (horizontal)
- Color: RGB LED
- Start: left or right
- End: bottom

96″–98″
- Left: ** LEDs (vertical)
- Top: ** LEDs (horizontal)
- Right: ** LEDs (vertical)
- Bottom: ** LEDs (horizontal)
- Color: RGB LED
- Start: left or right
- End: bottom
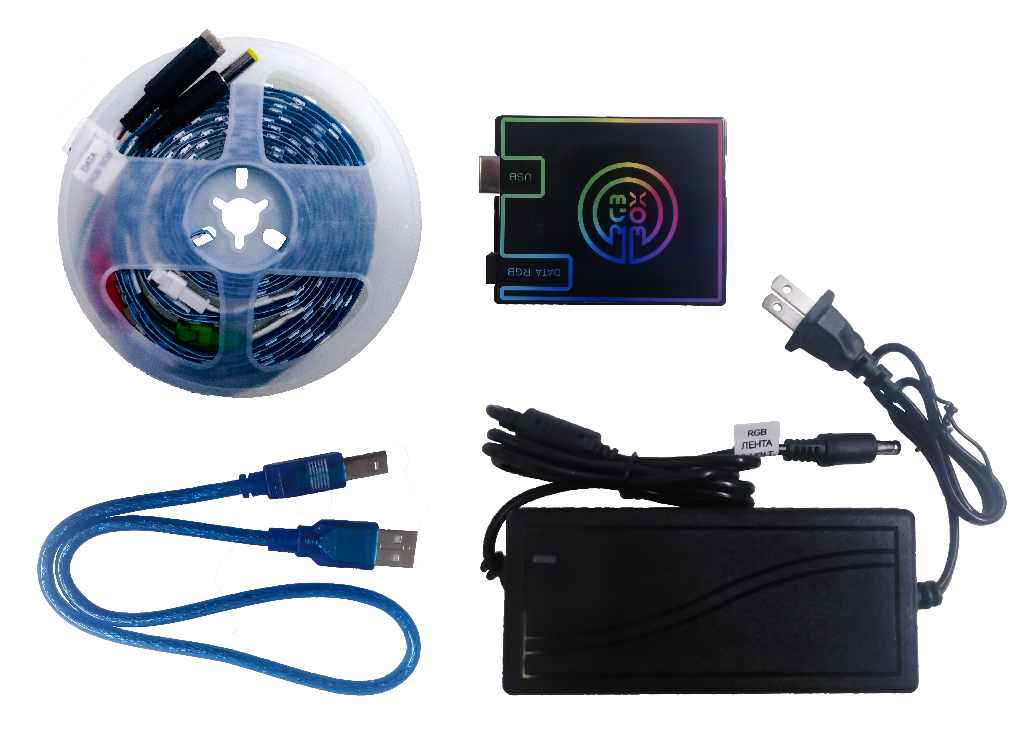
What’s in the RB-01 box:
- Large white convenient box — branded, neat packaging.
- RGB strip in moisture-protective packaging (protection against moisture and accidental liquid ingress during storage and delivery).
- The strip is already divided into 4 sides (left/top/right/bottom). Color-to-color connection: red to red, green to green, white to white. No cutting or soldering — at all.
- 5 V power supply, matched to the strip length of your set.
- USB cable to connect to an Android TV/set-top box or a PC.
- RGB-BOX RB-01 (controller) — lighting control and calibration.
Power it on, match by color — and your walls will come alive in 15–30 minutes.
How to stick the RB-01 RGB strip
Preparation
- Turn off the TV. Wipe the rear perimeter along the outline.
- Take the strip out of the moisture-protective packaging. Disconnect the inter-section plugs red / green / white — it’s easier to stick in parts.
Where is the start
- The starting point is next to the power and DATA. The 1st LED goes out from there.
- You can start with either vertical: right side, bottom to top or left side, bottom to top — the main thing is to follow the color order afterwards.
Step-by-step sticking (4 sides)
- Part 1 — vertical
Stick from START bottom-to-top along the chosen side.
The end of this part is the “red” plug. - Part 2 — top horizontal
Connect red to red and stick across the top to the opposite side.
The end of the second part is the “green” plug. - Part 3 — second vertical
Start from the “green” plug, stick top-to-bottom down the second vertical.
The end of the third part is the “white” plug. - Part 4 — bottom horizontal
Start from the “white” plug and stick along the bottom to the END point (back at the power/DATA area). Done.
Quality tips
- No tension. Don’t crease the strip on sharp corners — make a gentle radius.
- Peel the backing gradually: place 10–15 cm, press — then move on.
- If the TV is on a bracket — leave a couple of centimeters of slack for turning.
- The connectors in the kit are labeled by color and stickers (left/top/right/bottom) — it’s almost impossible to mix them up.
START → (vertical) → [red] → (top) → [green] → (vertical) → [white] → (bottom) → END
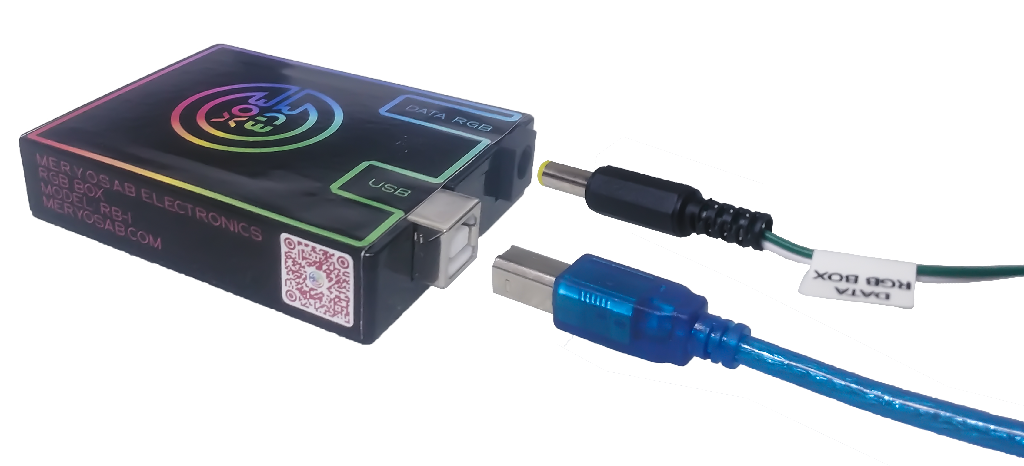
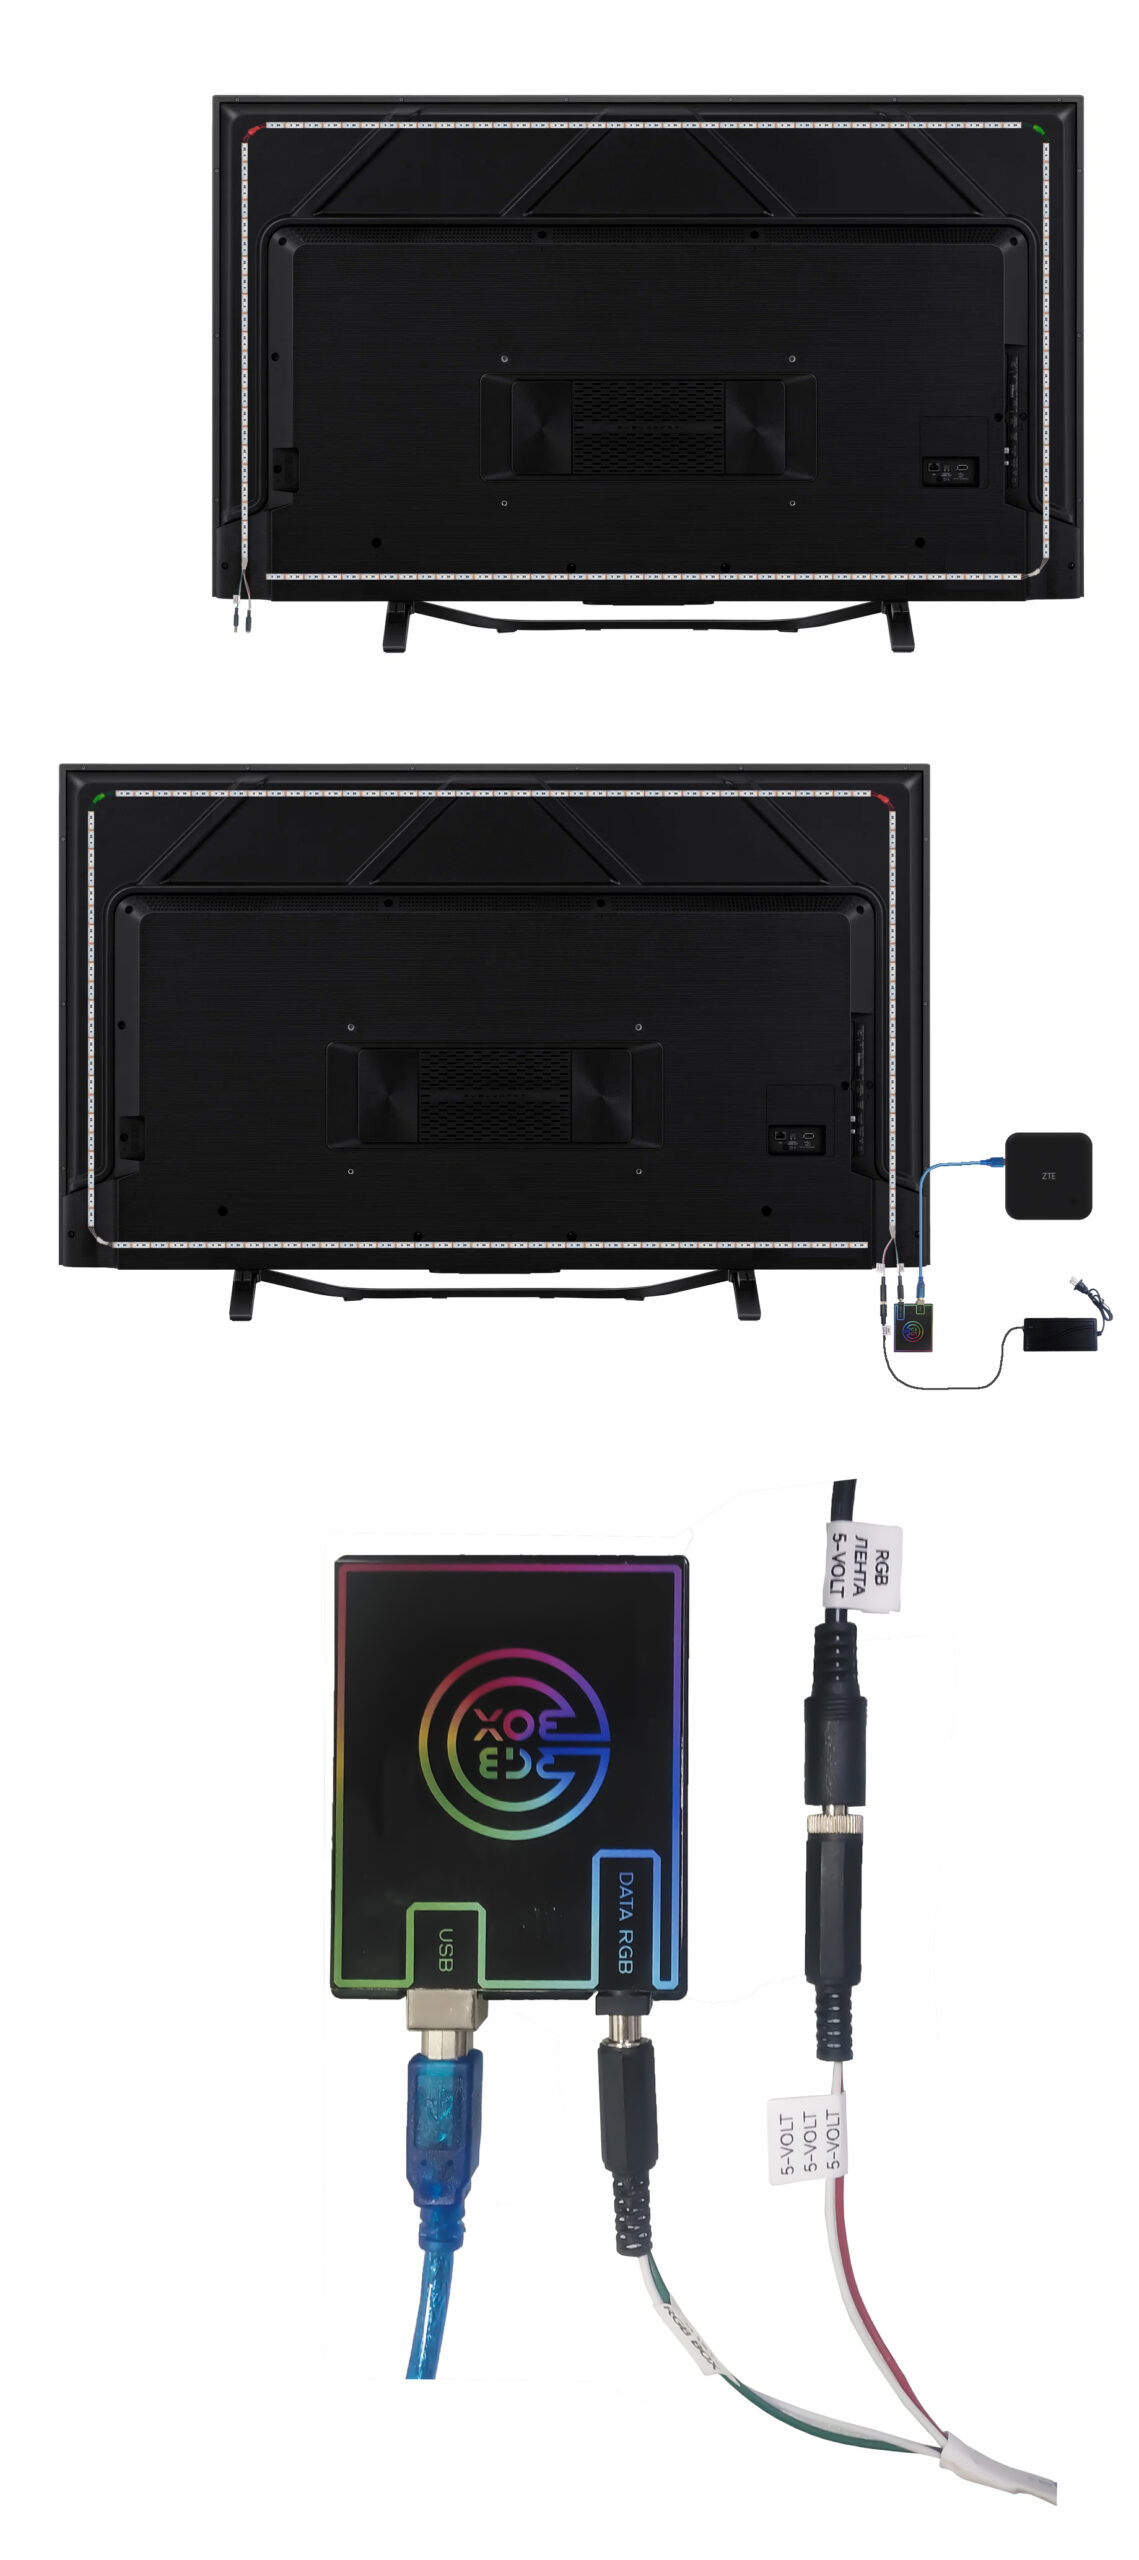
RB-01 cable connections
USB cable
- One side → Android TV/set-top box or PC (USB port).
- The other side → RGB-BOX RB-01 (controller’s USB port).
DATA (signal from the strip to the controller)
- Cable from the strip labeled “DATA RGB BOX” → into the “DATA RGB (IN)” port on the RGB-BOX.
(This is the data input. Don’t confuse it with power!)
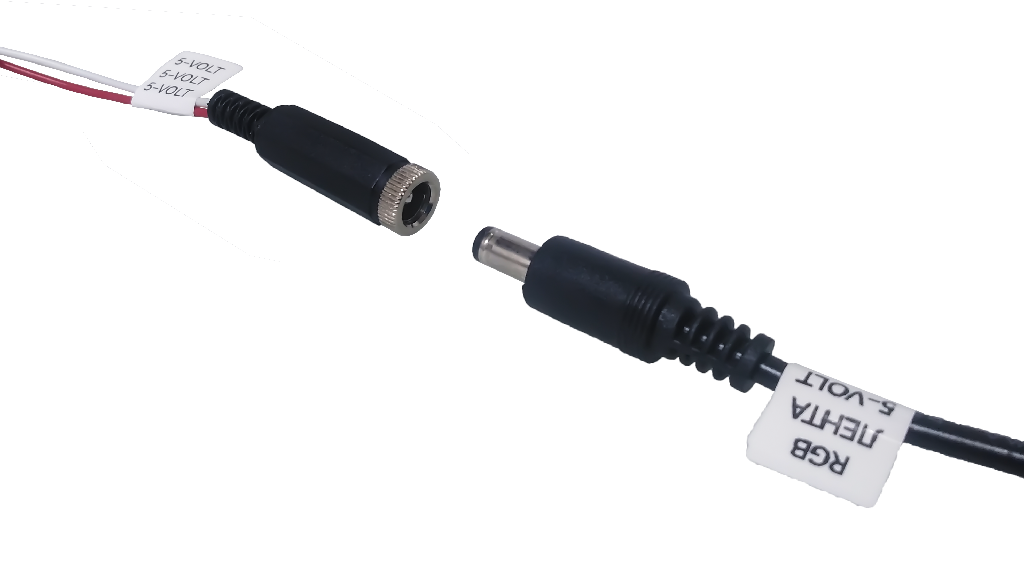
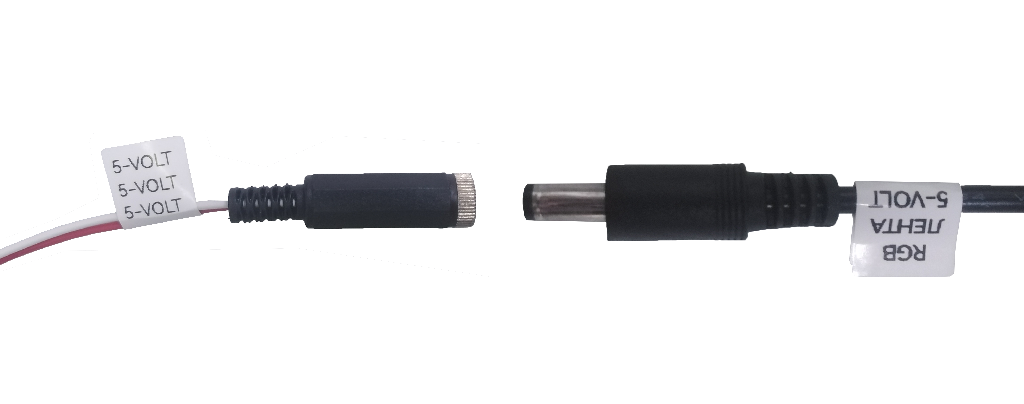
5 V power (strip)
- 5 V power supply labeled “RGB Strip 5 Volt” → into the strip connector marked “5 Volt”.
(Power the strip from the included PSU, not from the TV/PC USB.)
Important! Do not mix up DATA and power. They are different and not interchangeable. First assemble all connectors, then plug the PSU into the mains. Use only the included 5 V power supply. Do not change the +5V/GND polarity — follow the markings and keyed plugs.
— — — — — — — —
Here you can download all the files needed to set up RGB-BOX
App for Android and PC: launching Ambilight
What we do: install the app on Android TV/set-top box or the program on a PC to control RB-01.
Where to download
- Android: from this instruction page (QR in the box) — APK file.
- PC (Windows/Linux): from this instruction page — installer/archive.
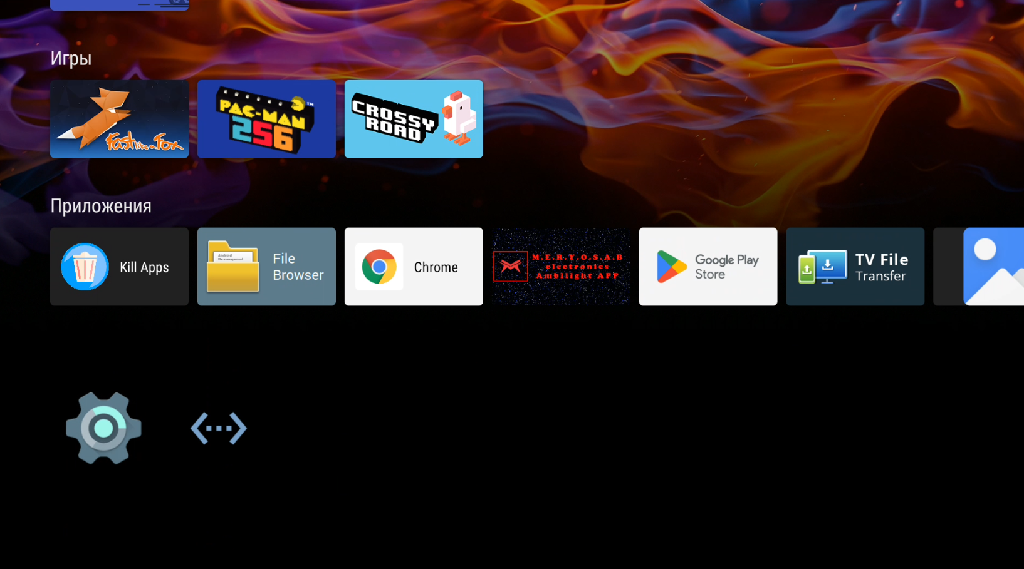
Ways to install on Android TV / set-top box
Option A — directly on the TV
- Open the browser on Android TV and follow the link/QR.
- Download the APK.
- Allow installs from unknown sources (Settings → Security → Install unknown apps for your file manager/browser).
- Open the APK and tap Install.
Option B — phone → TV
- On your phone, download the APK from this page.
- Transfer the file to the TV: via shared drive/cloud/file manager (any convenient way).
- On the TV, open the APK and install (as in Option A).
Option C — via USB flash drive
- Format the flash drive to FAT32. Capacity 2/4/8/16 GB — doesn’t matter; the key is FAT32.
- Copy the APK to the flash drive, safely eject it.
- Insert the flash drive into the Android TV/set-top box, open the APK via a file manager and install.
Installation on PC
- Download the program for PC (Windows/Linux) from this page.
- Install and run it. A driver is generally not required; if the system asks — allow access to the USB device.
— — — — — — — —
First launch (Android and PC — same logic)
Connect the USB cable: Android TV/PC ↔ RGB-BOX RB-01.
- Connect DATA: the cable labeled “DATA RGB BOX” → the “DATA RGB (IN)” port on RB-01.
Connect 5 V power to the strip (“5 Volt”), then plug the power supply into the mains.
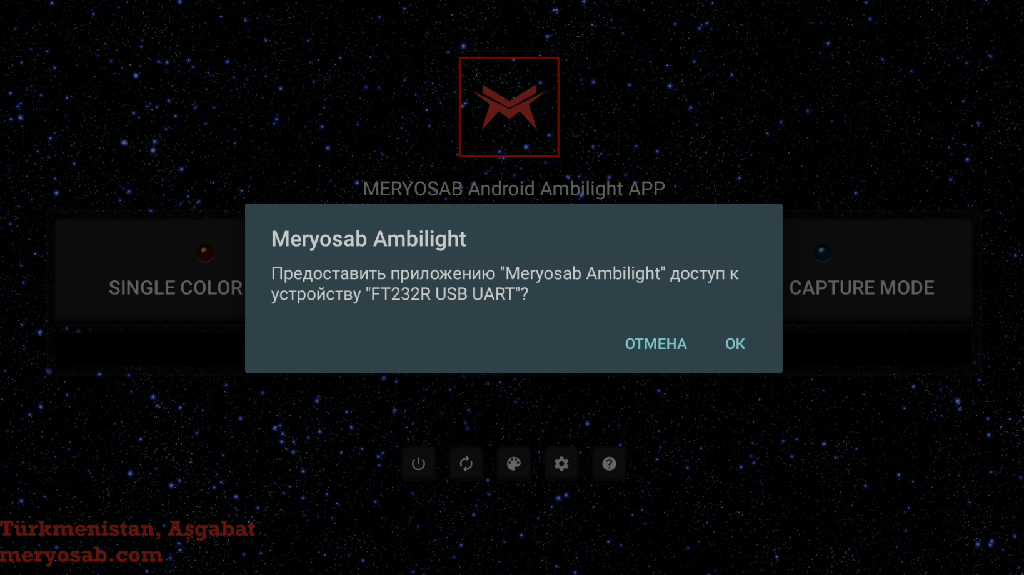
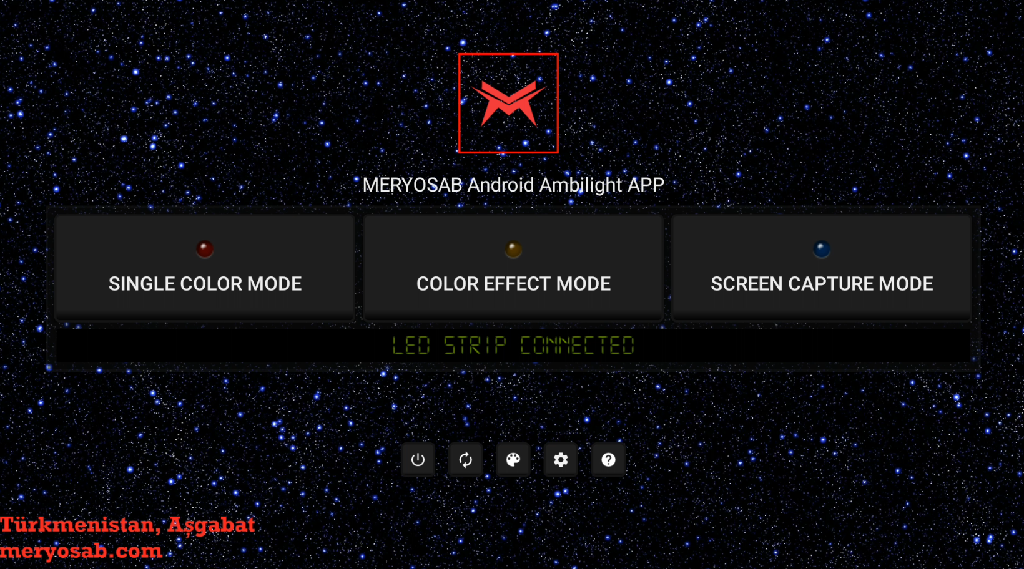
Open the Ambilight APP
- Allow access to the USB device.
- If “LED Strip Connected” is displayed, the RB-01 is connected and working.
Open settings
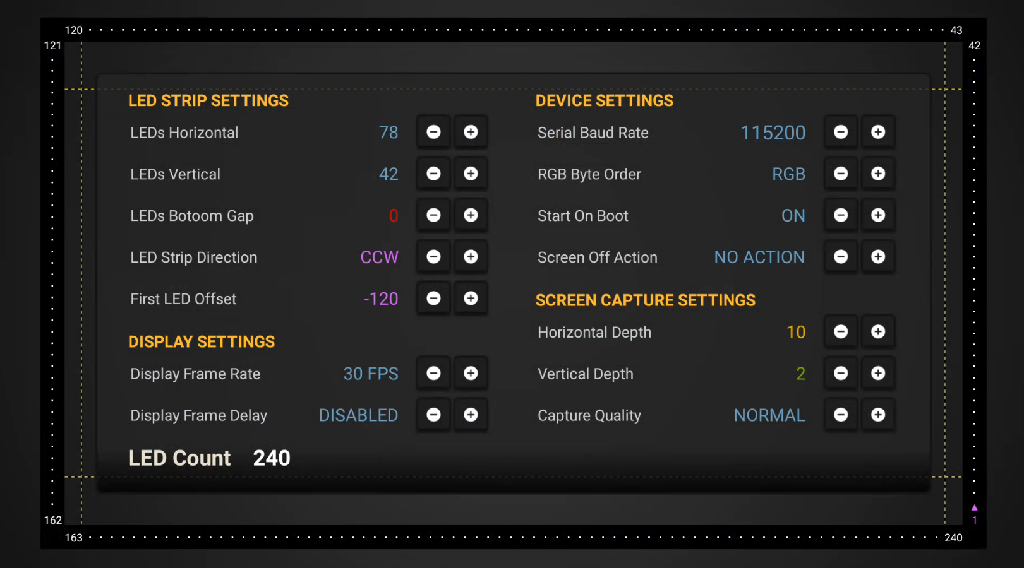
On the main screen, tap the gear icon ⚙️ (bottom right, second after “?”). The settings screen will open.
LEDs Horizontal (top side)
Specify the number of LEDs on the top side.
Tip: check the label/sheet in your box — it lists the exact count for your set.
Example for 65″: 78 LEDs.
LEDs Vertical (vertical side)
Specify the number of LEDs on one vertical side.
Example for 65″: 42 LEDs.
Bottom Gap
Set to 0.
LED Strip Direction
Choose the perimeter traversal direction:
- If the strip starts on the right (as in our 65″ set) — choose CCW (counter-clockwise).
- If the start is on the left — choose CW (clockwise).
(This affects how the color “runs” around the perimeter.)
First LED Offset
Calibrates where the app considers the “first LED” relative to the screen.
Default for 65″: –120.
If the picture is “shifted” around the edges — adjust by 5–10 until the corners line up.
Horizontal Depth / Vertical Depth
The “thickness” of the capture area along the screen edges (which area to sample color from).
Recommended: Horizontal Depth = 10, Vertical Depth = 2.
(The larger the value, the “thicker” the capture zone.)
Screen of Action: NO ACTION / ON
If you want the RGB strip to turn off when the set-top box/TV is turned off, set the Screen of Action switch to “ON.”
Leave the other parameters as in the screenshot (the default settings fit 90% of cases).
— — — — — — — —
Enable screen capture
Press the Back button on the remote to return to the main screen.
Turn on SCREEN CAPTURE MODE.
Grant the app permission to capture the screen (confirm the pop-up).
Run the Red → Green → Blue test. If the colors are swapped — in settings switch the LED order RGB ↔ GRB.
Done — time to watch a movie. Popcorn optional 🙂
Quick tips
- If the lighting is “shifted” relative to the corners — adjust First LED Offset.
- If something “flickers” — check the connectors and whether they’re fully seated.
- Change direction (CW/CCW) only if the strip start is on the other side.
- Tip: Leave about 30 cm (12″) between the TV and the wall — the colored glow will spread evenly, amplify the sense of scale, and create a cosmic ambience.
Video guide:
—————————————————————————
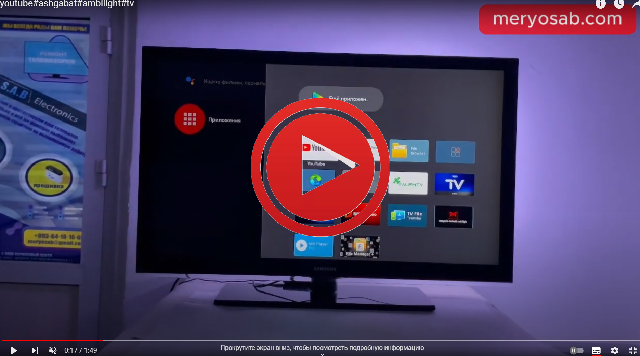
See how the Ambilight installation looks when finished. Press Play to see the result live.

Ambilight LG 47″
Ambilight Samsung 46″
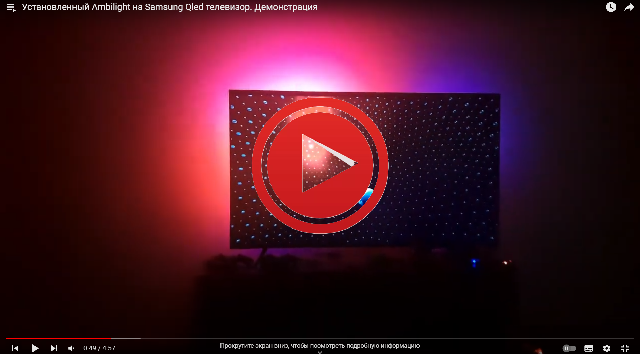
Ambilight Samsung QLED 55″
—————————————————————————